Role Menus
Role menus allow your server members to assign themselves roles by interacting with a menu.
To ensure the bot functions correctly, it requires the following permissions:
Manage Server: To read the audit log and respond to relevant events.Manage Roles: To assign roles to members.Send MessagesandEmbed Links: To send the role menus in your channels.
Setup
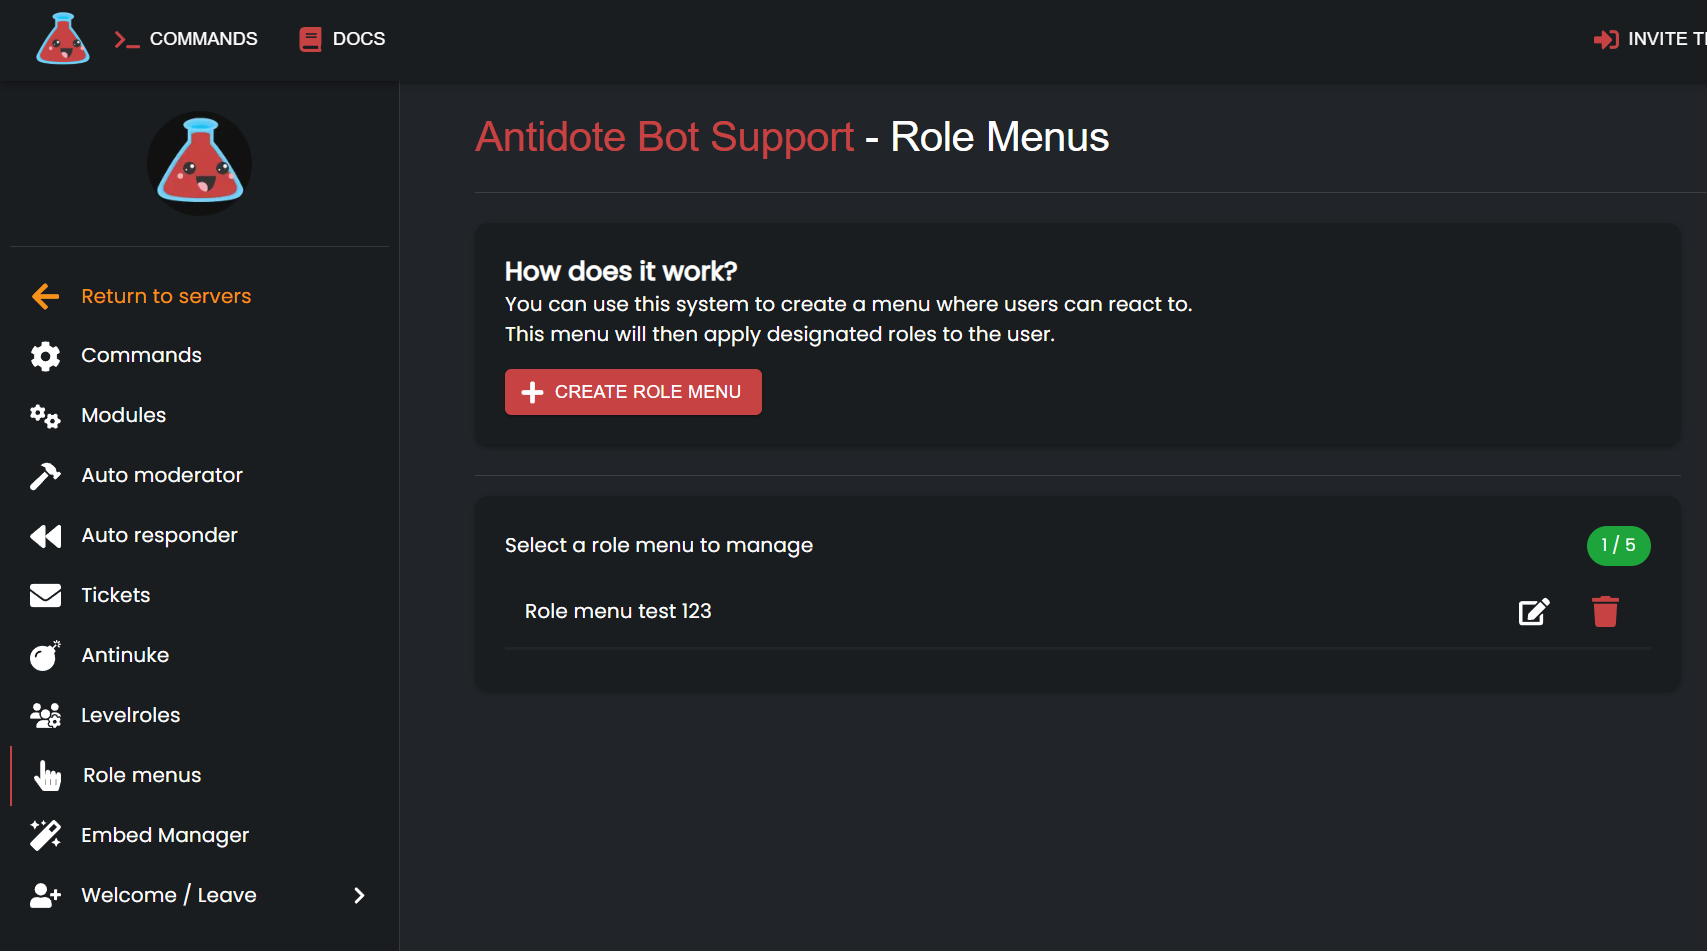
Using the Dashboard
To get started, visit the dashboard, select your server, then navigate to Role Menus from the sidebar.
Creating a Role Menu
Click the Create Role Menu button.
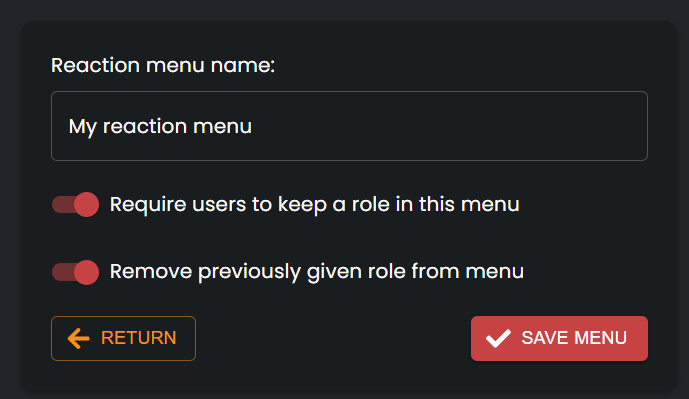
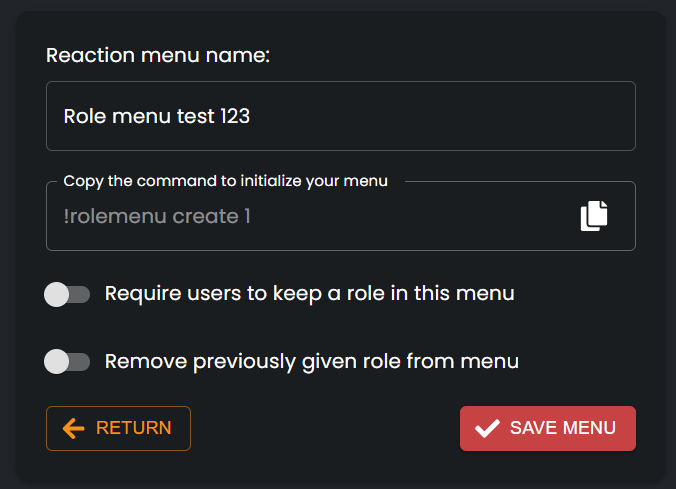
Menu Configuration
-
Menu Name Give your role menu a descriptive name.
-
Persistent Role Decide whether users must always have one role from this menu, even if they try to unselect all.
-
Replace Previous Role Choose whether selecting a new role should remove the previously selected role.
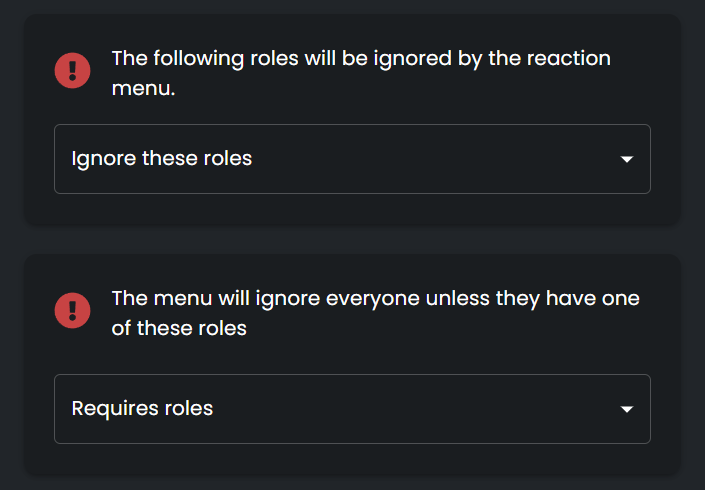
Role Behavior Configuration
Changes will apply immediately after clicking Save.
You can configure how roles interact with the menu:
- Ignored Roles: Roles that the menu will not affect.
- Required Roles: Users must have one of these roles for the menu to respond.
Adding Roles to the Menu
Click Add Role to start configuring your menu options.
For each option:
- Choose an emoji (custom or default, e.g.
:exclamation:). - Assign the role to be given when a user selects that option.
Deploying the Menu
Once your menu is configured, you can post it in your server using one of two methods:
Method 1: Using Text
- Go to the Edit Menu page.
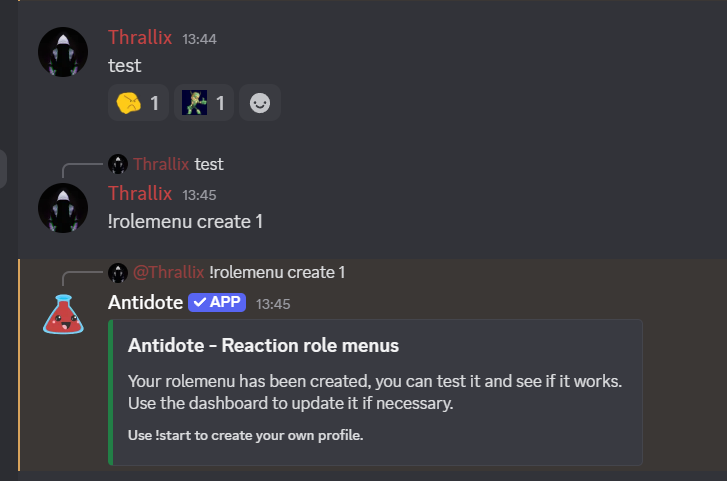
- Copy the generated command.
- Paste and send the command in any text channel where the bot has permissions.

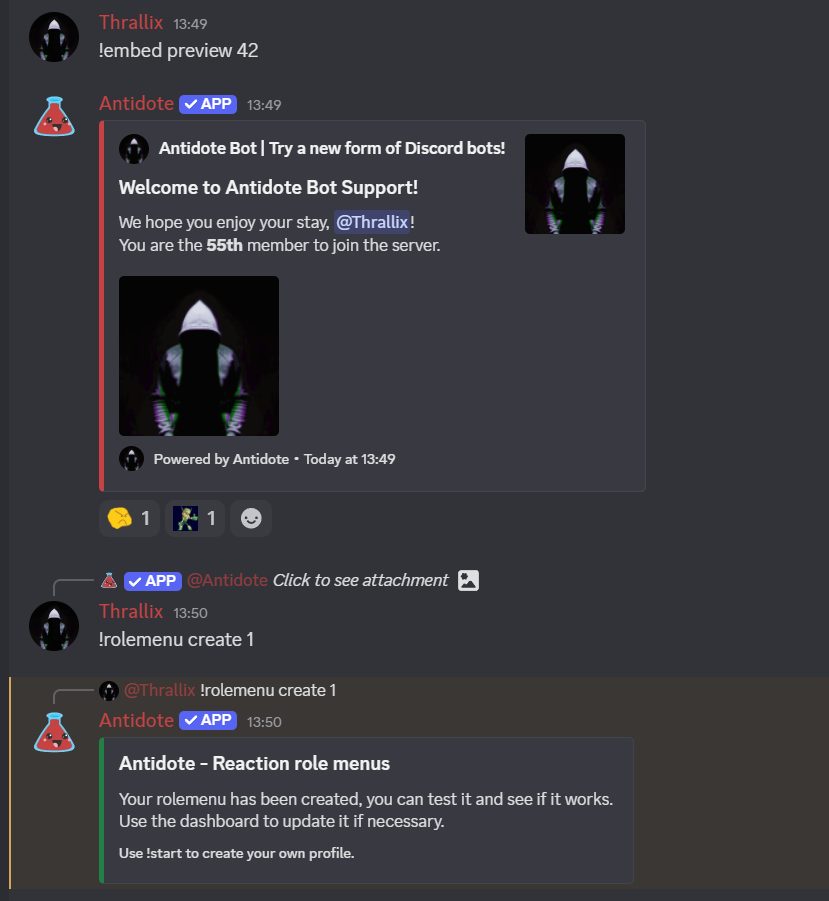
Method 2: Using Embeds
You can also attach role menus to custom embeds:
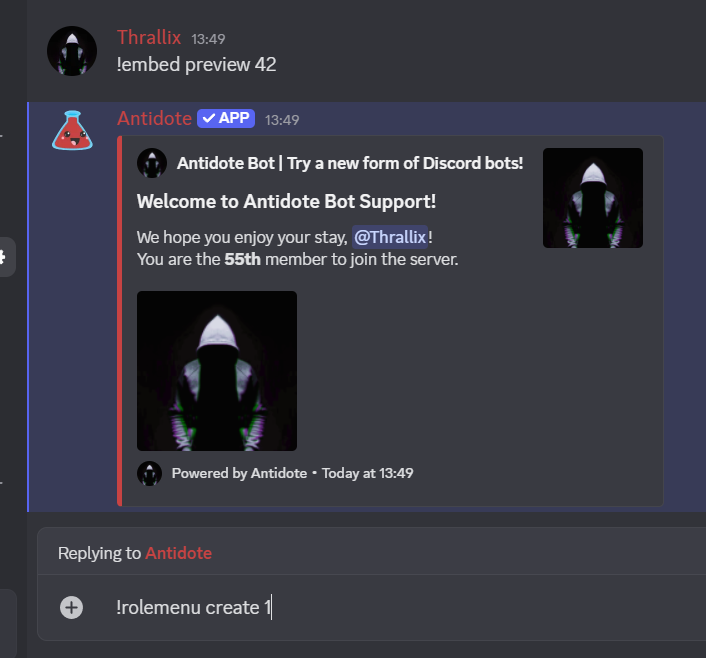
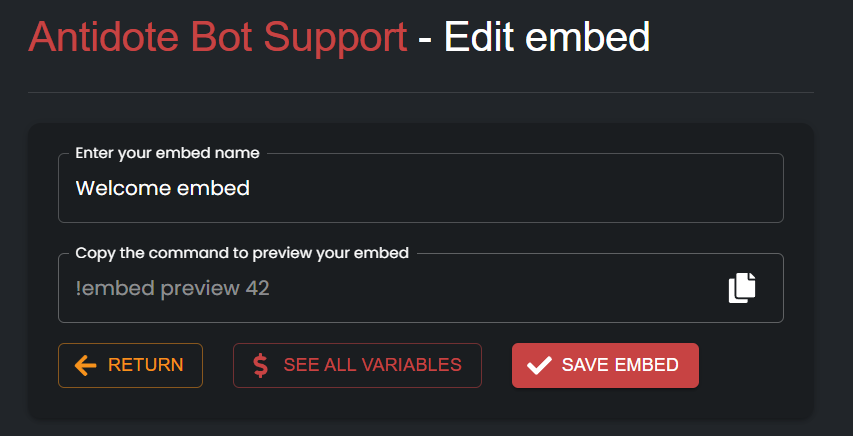
- Open your Embed Manager and create or edit an embed.
- Use the
!embed preview <embed_id>command to post the embed.
- Reply to that embed with your role menu command.